
This page provides step-by-step instructions on how to apply for San Diego's town information service, how to post and edit business information, and how to post and edit job listings. *Please note that only one job type (one position) can be listed per posting. Please refrain from posting multiple job types within a single post.
*If you wish to post multiple job types (multiple positions), please purchase additional postings ($60/4 weeks). A video manual is also available at the bottom of this page for your reference
- Application ~ Login
- Editing and publishing business information
- Editing and publishing job postings
- Video manual
Application ~ Login
STEP 1: Inquiry about listing
Please feel free to contact us through the inquiry form regarding listing your business . A sales representative will contact you with information about our products for your consideration. Once the listing agreement is finalized, we will send you an email containing your username, password, and URL to access the screen for registering and editing your business information.
STEP 2: Log in
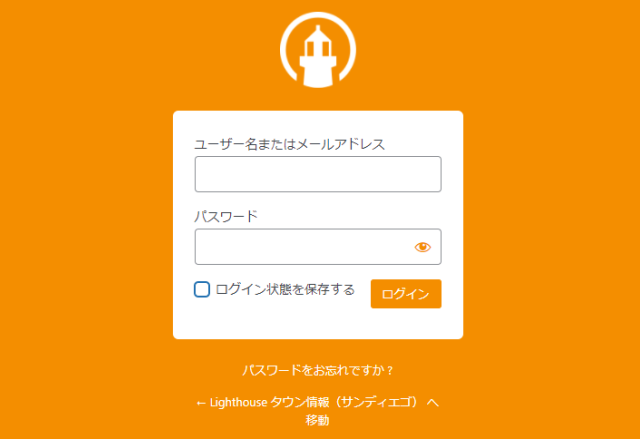
Access the URL you received in the email and enter your username and password
Editing and publishing business information
STEP 1: Editing Business Information
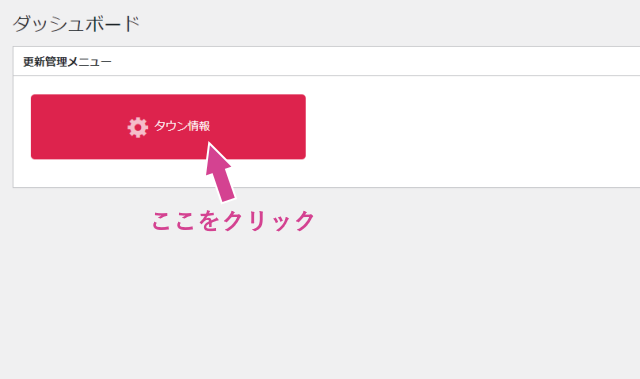
Please click the "Town Information" button that appears after logging in
STEP 2: Click on "Business Name"
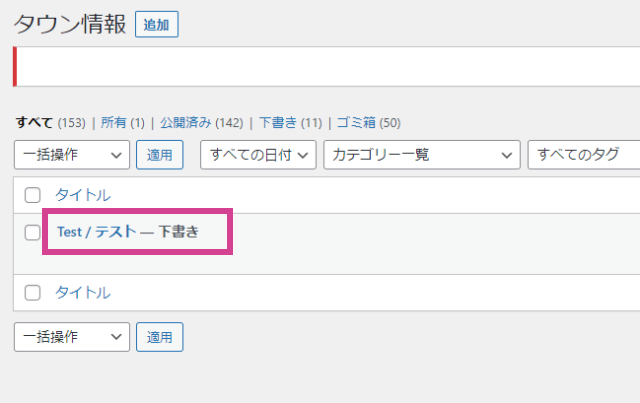
An article containing the business name/store name is saved as a draft, so click on it
STEP 3: Enter the information in the designated field
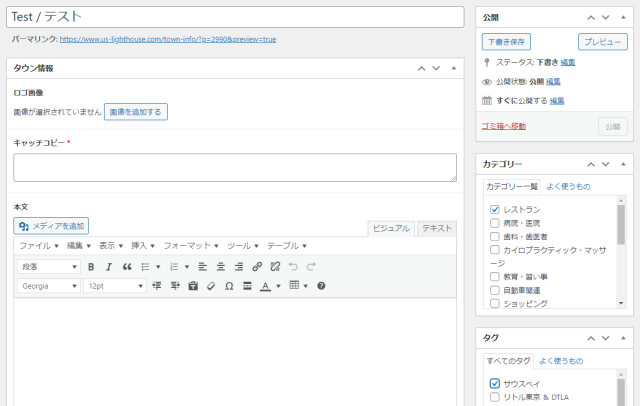
The top title field already has your business name entered. (The rule is to include the business name in both English and Japanese.)
All the fields below that are for information to be entered, so please fill in the necessary information.
STEP 4: Check the category and area
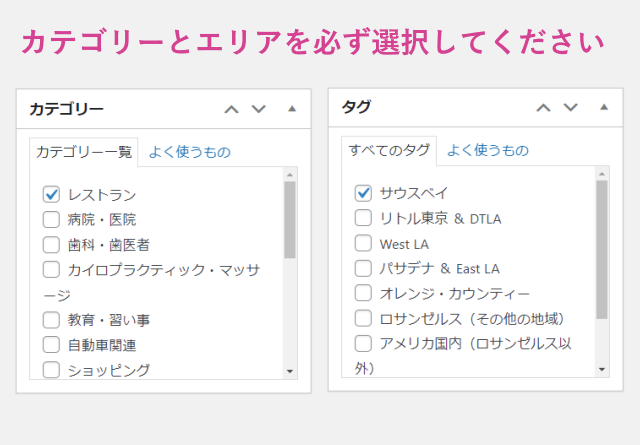
Please be sure to check the "Category" and "Area" fields on the right side of the screen.
If you do not check them, the information you have entered may not be displayed.
"Category" refers to your industry, and "Area" refers to your location.
STEP 5: Register your photos
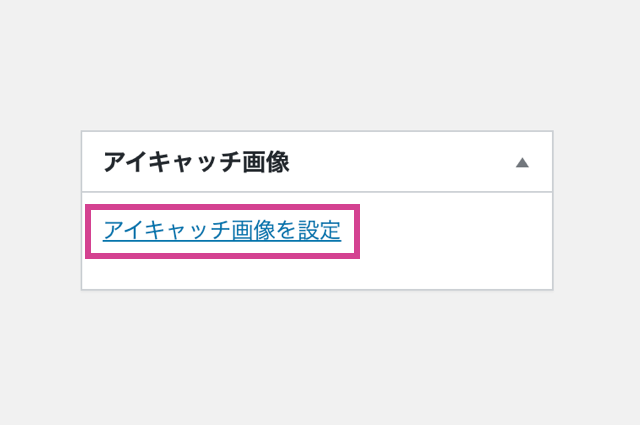
Click the blue text that says "Eye-catching image" in the lower right corner of the screen.
Please be sure to register an eye-catching image.
There is a separate section for registering logo images, so please do not use a logo image here.
STEP 6: Upload photos
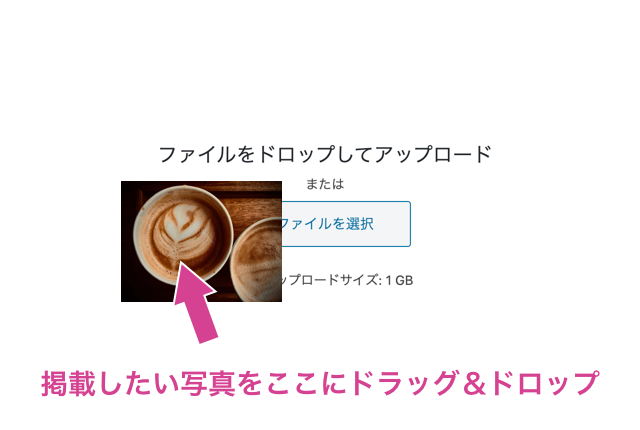
Drag and drop the photos you want to upload into the opened area
STEP 7: Inserting a photo
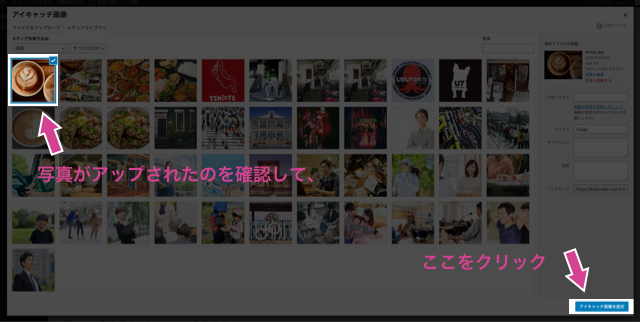
After confirming that the photo has been uploaded, click the "Set featured image" button in the bottom right corner
STEP 8: Display the eye-catching image
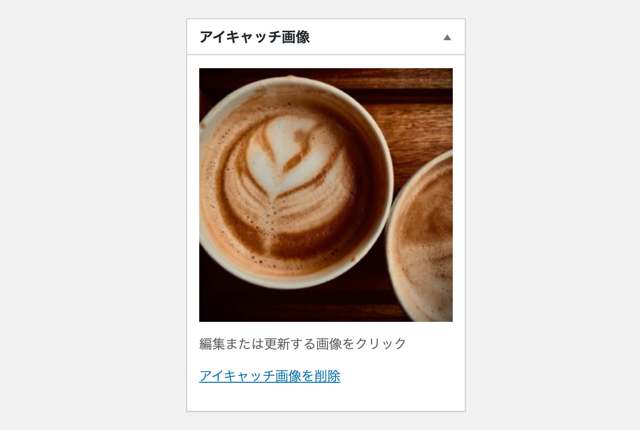
If the image you want to upload is displayed in the lower right corner of the screen, then it was successful
STEP 9: Publish the article
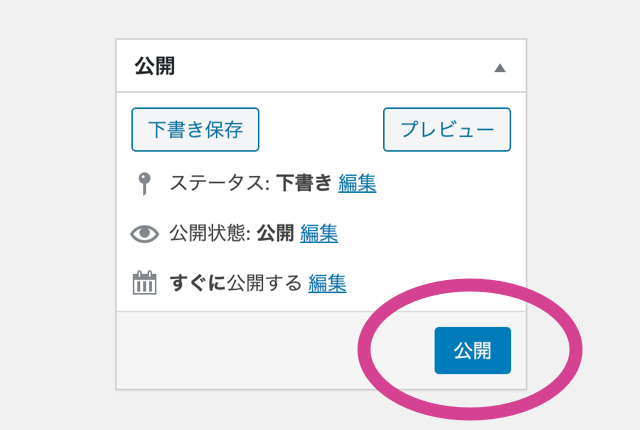
Click the "Publish" button in the upper right corner of the screen to publish your article.
That completes the process.
*Please note that we reserve the right to remove any articles without notice if we deem them inappropriate, including those that violate public order and morals.
Editing and publishing job postings
STEP 1: Click on "Job Information"
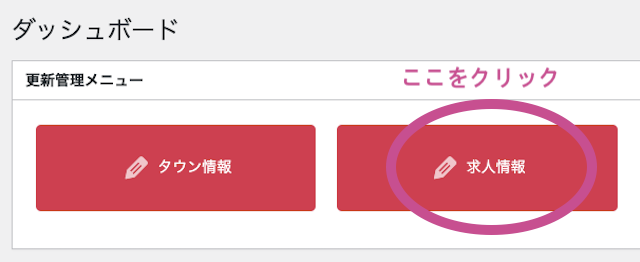
Please click the "Job Information" button that appears after logging in
STEP 2: Select the article to edit
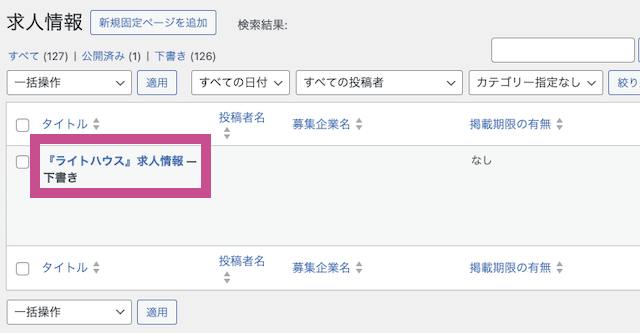
Click on the article containing the business name (job posting) that has been saved as a draft
STEP 3: Enter the information in the designated field
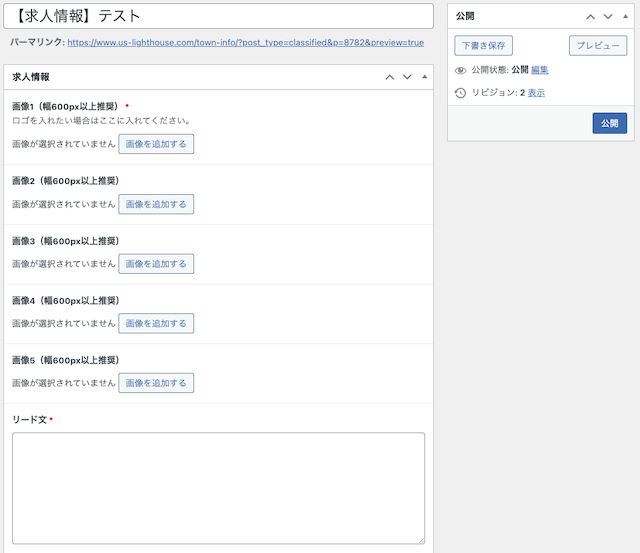
Please enter the job posting name in the title field at the top.
Example: "Lighthouse, a lifestyle magazine, is recruiting sales staff!"
The fields below are all for information to be entered, so please fill in the necessary details.
STEP 4: Check the work area, industry, job type, and employment type
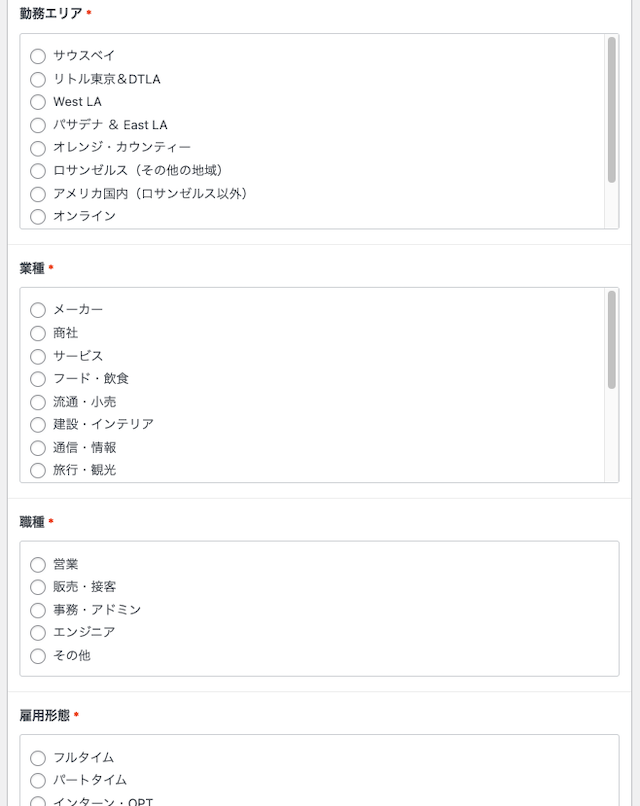
Please be sure to check the "Work Area," "Industry," "Job Title," and "Employment Type" fields at the top of the screen
STEP 5: Register your photos
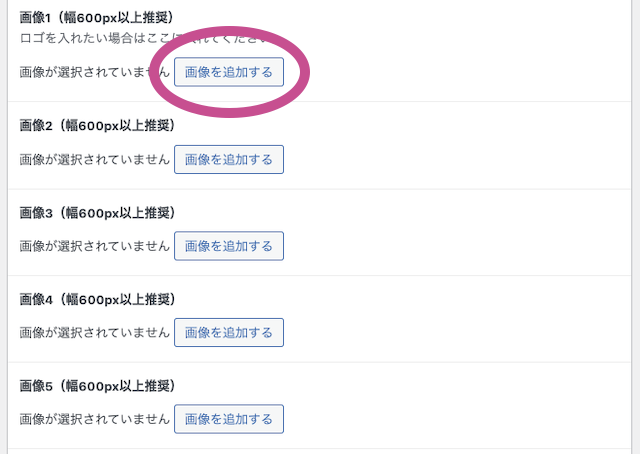
You can register up to 5 images.
The first image is required, so please register a logo image or similar.
STEP 6: Upload photos
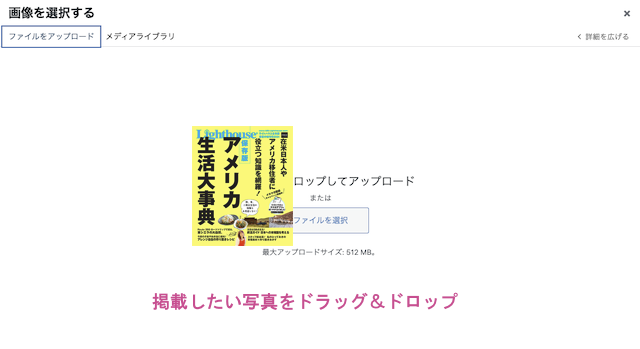
Drag and drop the photos you want to upload into the opened area
STEP 7: Inserting a photo
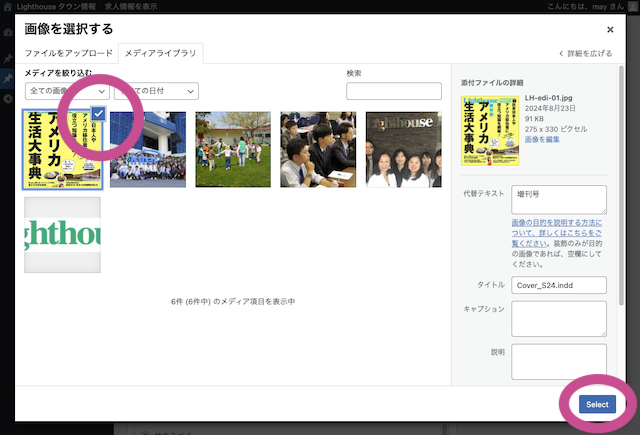
Click on the image you want to register, then click the "Select" button in the bottom right corner
STEP 8: Publish the article
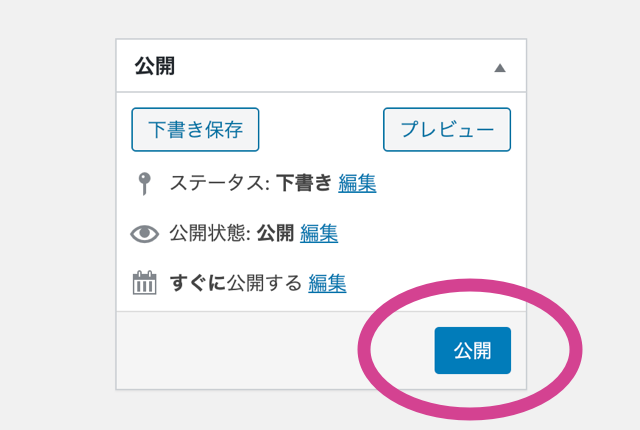
Clicking the "Publish" button in the upper right corner of the screen will publish the article.
That completes the process.
If you wish to close this recruitment, please change the status from "Published" to "Draft".
When you decide to recruit for another position, please edit the content of this article and change it back to "Published".
*Please note that we may remove the publication without notice if we determine that the content is inappropriate, including content that violates public order and morals.
Video manual
Basic edition
This video explains the basic steps for registering business information, from logging in to publishing
*The login screen for the San Diego version of Town Information is orange
Advanced section
If you want to make your business information more visually appealing, please watch this video
This guide explains how to create tables, add links to text, and change font size and color